Now you can checkout customers and easily keep track of payments for appointments in QuickBooks Online. All the details from your appointment book — like who came in when, what services were rendered and how the client paid — flow from Full Slate into QuickBooks with the click of a button. After an appointment, you can take and record payment with the choice to email or print a receipt for your client. Add a tip, apply sales tax, even give a discount to your favorite clients, we’ll do all the math.
If you have enabled Client Payments and take deposits or payments online, those transactions also automatically sync to QuickBooks. You’ll continue to see price and amount paid by the client online in appointment details, and when you check out after the appointment, it will automatically apply the deposit and calculate the balance due.
Bonus – if you’ve configured a credit card processor for client payments, you’ll be able to charge a card during checkout.
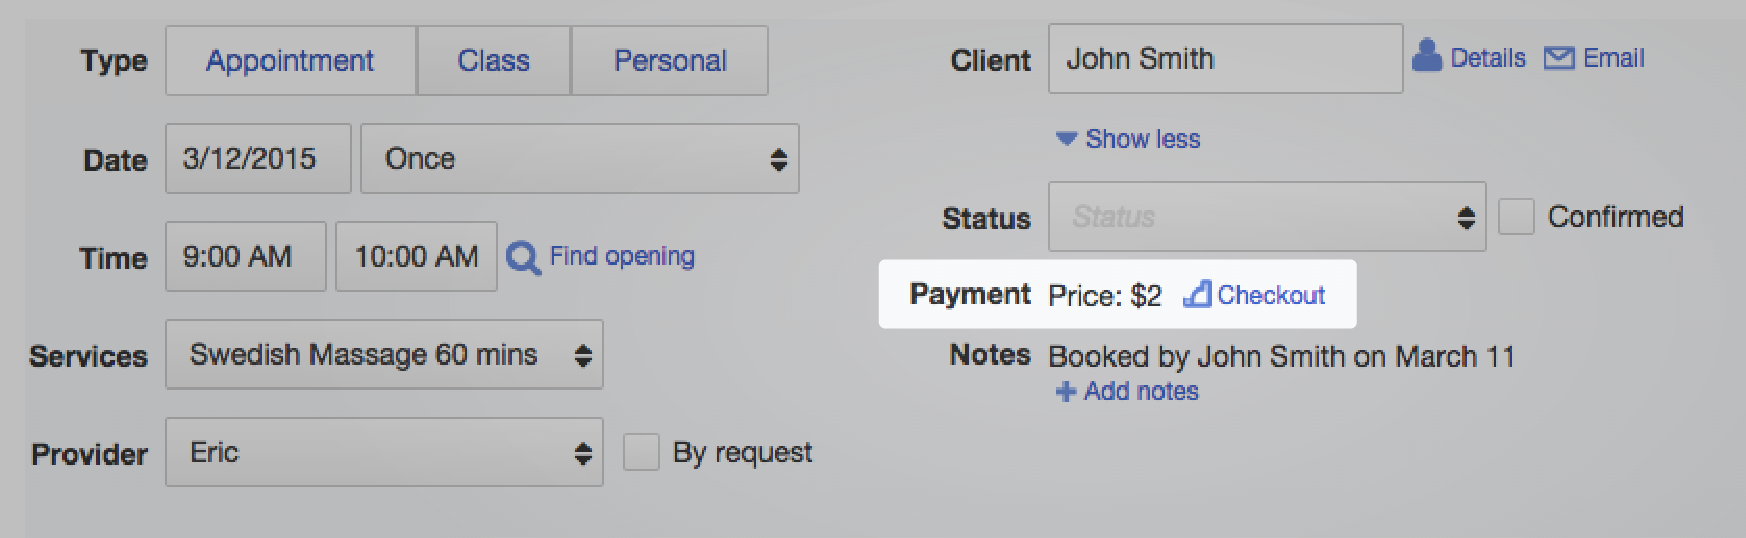
If you haven’t setup client payments or prefer to use another merchant service or external POS, you can still record the payment without actually charging the card in Full Slate. To check out this new feature, go to your “Schedule” tab in Full Slate, open an existing appointment, and click the register icon.
At this time, you must have a QuickBooks Online account and have the QuickBooks sync turned on within your Full Slate account to use the checkout feature. If you have a QuickBooks account but have not set up sync, simply go to Setup > QuickBooks Sync and click the “Connect to QuickBooks” button.
If you do not have a QuickBooks account, click HERE to learn more and set up a free 30-day trial.
For many common questions on the new “Checkout” feature, please take a look at our Help Center. If you have any additional questions or trouble, feel free to reach out to support by clicking on the “Support” link in your Full Slate account. We’re happy to help!
